I found one of these Makita right angle drills at the Restore in San Carlos a few months ago for $16. It came with a charger and a couple batteries. The batteries are the older Nickel-Cadmium (NiCd) chemistry, but it so happens my wife picked up a similar straight drill at a yard sale a few months before.
Right angle drills are very useful whenever you’re doing work in close quarters, which abound on a boat. I must have done hours of remodeling with the same model, which I used to own about 20 years ago when it came out. As it turned out the drill didn’t turn, although the batteries charged fine. The problem was the thermal overload relay, the little rectangular fuse with the yellow button would not reset properly and stayed pushed in all the time.
I found the part online for about six bucks, but before I placed the order I made a quick test by shorting out the two electrodes and confirming the drill ran properly. The part came in by post sometime late last year, but I didn’t have the opportunity to get everything together to fix it. Once I did this afternoon it took about 20 minutes. Remove the half dozen black Philips head screws from the drill, carefully separate the case halves, slide out the old thermal cutout and use a soldering iron to carefully remove the old leads and transfer them to the new part with a little finesse, a pair of pliers and a splash of new solder.
The drill is back in commission and I’m looking forward to using it for some upcoming projects, like installing the pine ceiling along the walls of the aft cabin.
Kudos to the Restore folks, by the way. When I informed them the drill didn’t work, Jamie knocked the price of the replacement component off the bill. I paid shipping, and we both came out ahead!
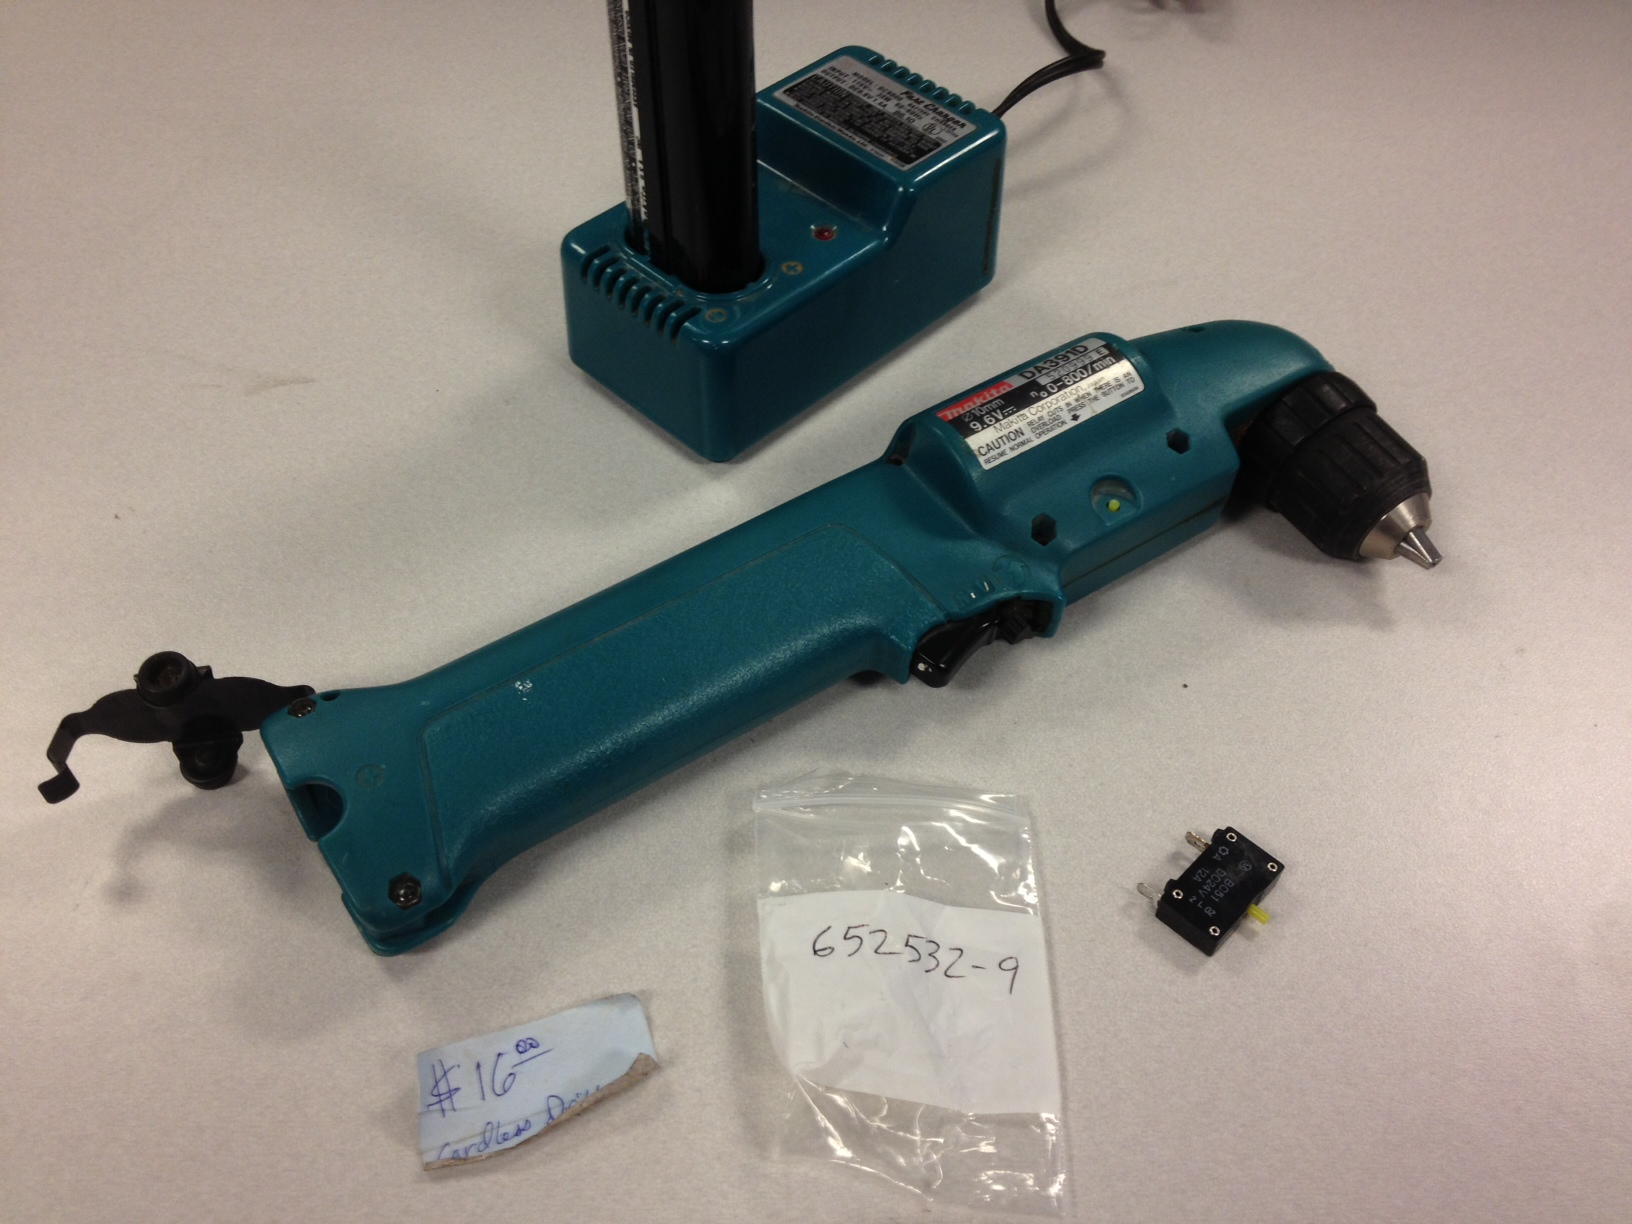
This right angle drill, circa 1982 is a handy one to have on your side in close combat!