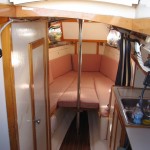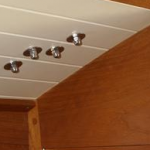
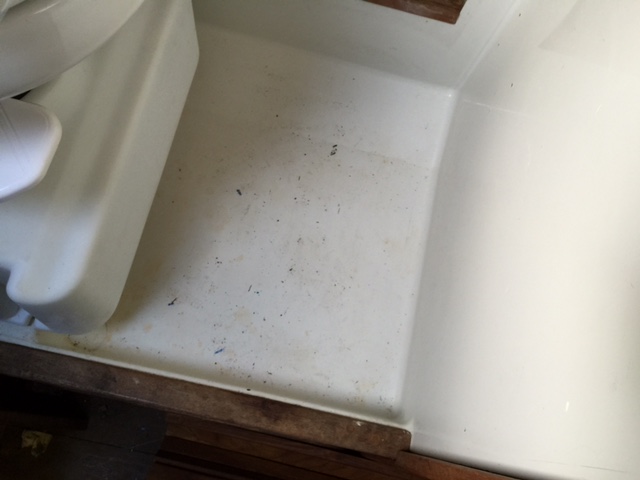
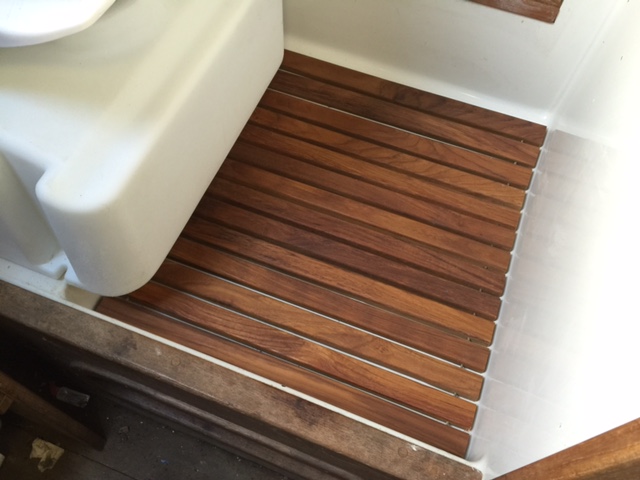
Seen from above: The molded-in shower pan on the right is flat but slightly beveled for drainage
The Nor’sea 27 sailboat (most models) has a fiberglass liner in the head area that has a raised molded-in platform on its aft edge for the head installation, leaving a slightly depressed section on the right as a molded-in tray. Some owners have plumbed in a handheld shower and installed a drain in the tray, which tilts to the front left edge. I haven’t gone that far, but I thought it would be great to have a teak floor to protect the gelcoat in this area, which is prone to water and wear.
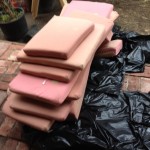
For that reason, I’ve been carrying around the rough measurements in case I ran across something promising. 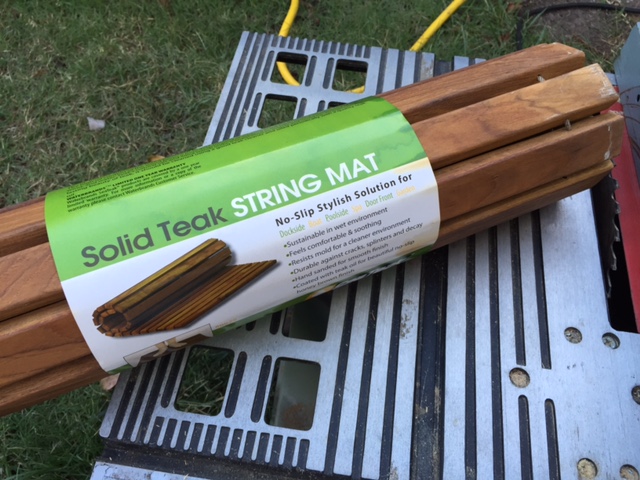 At the 2013 Strictly Sail exposition in Oakland, California, I bought a teak string floormat for about $40. When rolled out flat the mat measures about 19-3/4 inches on a side, and is made of plantation teak. They’re called “string mats” but in fact, the strings are stainless steel cable on the good ones. The interesting thing is that the flexibility of the construction will lets it conform somewhat to shower pan, which isn’t exactly flat, sloping slightly up at its edge.
I located the same mat later at Bed, Bath and Beyond
for about $60, at retail. It’s made by WaterBrands.They also sell a rigid mat, but as it turns out, The rollup mat is the way to go. 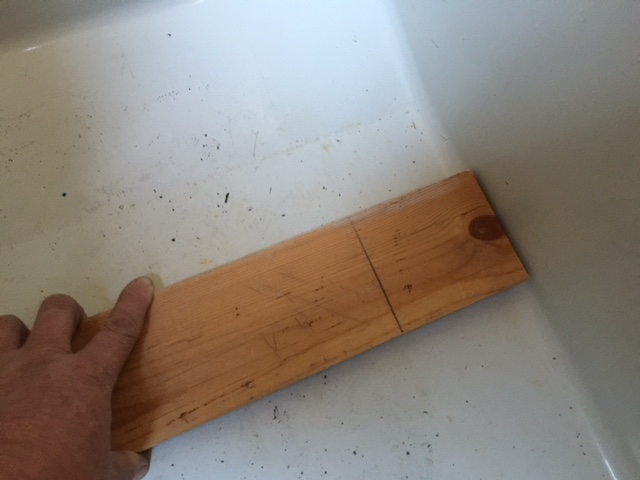 The first step in any installation is to measure very carefully because, I’ve learned in the past, nothing on a boat is typically exactly what it seems. In this case the fiberglass shower pan is mostly square, but it tips up on the port side of the boat a little to meet the hull. The string mat has a advantage of being able to conform to that rise nicely.
I measured 18-3/4 inches width overall and found it was consistent across the pan, but I noted that there is a slight radius to the corner edge, just about a 16th inch on each side, so I narrowed it to about 18-5/8″ The first thing I did was cut a piece a pine of that size test it out. It fit well in the middle center and top with about a 16th inch gap on either end. That’s about what I wanted; I could fit in there more perfectly if I coved the inside edge of the corner, but I do want to get a little bit of circulation around each end to help prevent rot.  Using the wood I trimmed as a guide, I lined it up with a mat and found that I would need to trim 1″ but because of the location of the cables just a couple inches from each end I would need to cut both ends of the mat at 1/2″ to avoid leaving one of the stainless cables too close to the end. 18 5/8 inch length was just a touch wider than my tablesaw fence could accommodate with stability so I used an extra clamp to square things up. As I cut each piece of the mat tended to kick back some with some four so I was careful to position myself out of the line of fire.
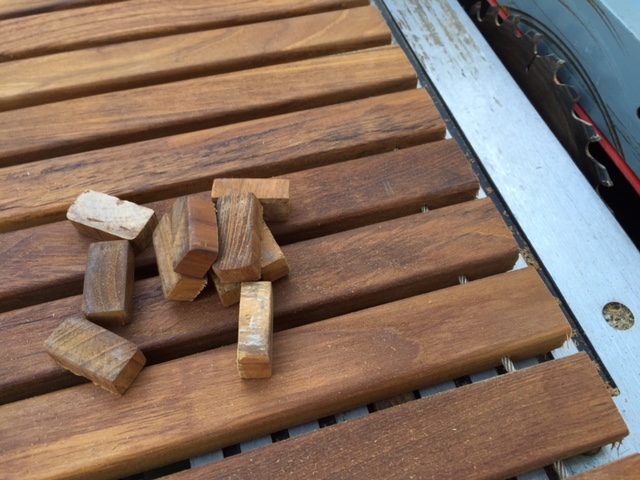
Next I flipped it over and cut the other side. I was able to cut fairly cleanly without much chip out. There were some slightly rough edges to touch up with sandpaper, but I wanted to check the fit first.
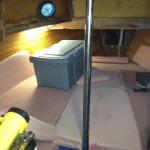
 I went ahead and test fit the mat in the bottom of the floor pan, and actually couldn’t have had a better fit. Moving the mat left or right causes it to ride up on the 16th inch radius so it’s really happy with that kind of spacing I provided.
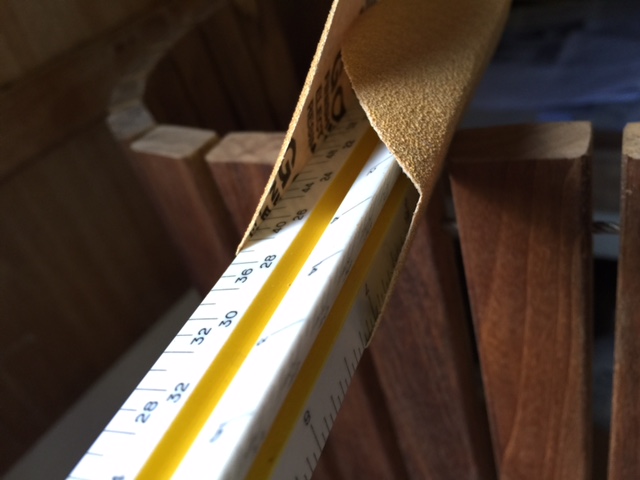 Next I had to finish the ends a little bit so I wrapped a piece of adhesive sanding disk around a triangular ruler and use that to smooth the corners between pairs of the boards. I also around the edges just slightly on top and bottom those 12 boards are so makes for a lot of edges and sides.
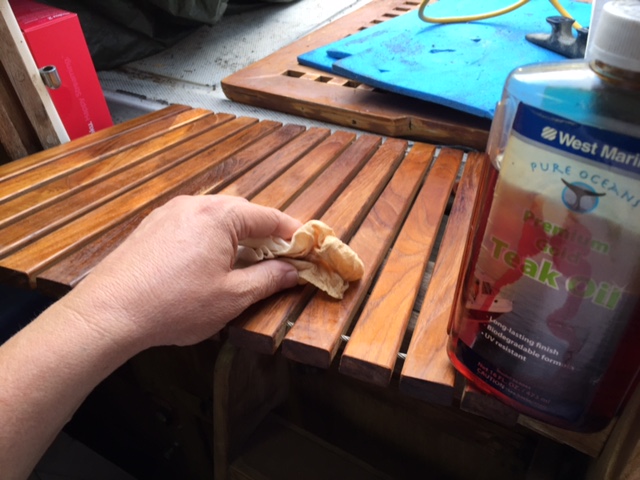 Next I used some teak oil and a rag to treat the newly cut surfaces. The end cuts of the boards really soak up the oil. I went ahead and gave the rest of the mat a light oiling.
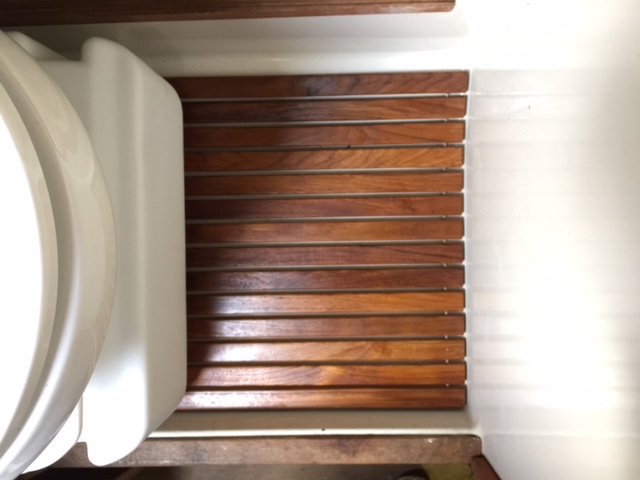
The last photo shows the mat oiled and installed in the boat. It really makes a big difference in the appearance, and the teak boards will help protect the fiberglass gelcoat from scratches.